Authorization Code Flow
How to generate access and refresh token pair for multiple user applications?
Authorization code grant
This flow enables multiple Signeasy users to grant authorization to your app so you can access their Signeasy resources on their behalf. The flow involves three steps,
- Displaying the authorization consent screen to your users to review the permissions requested by your app to authorize and access their Signeasy account.
- Capturing the authorization code.
- Obtaining the access and refresh token using the authorization code, where the app shall then use the token to access the user's Signeasy resources via the API.
Prerequisite
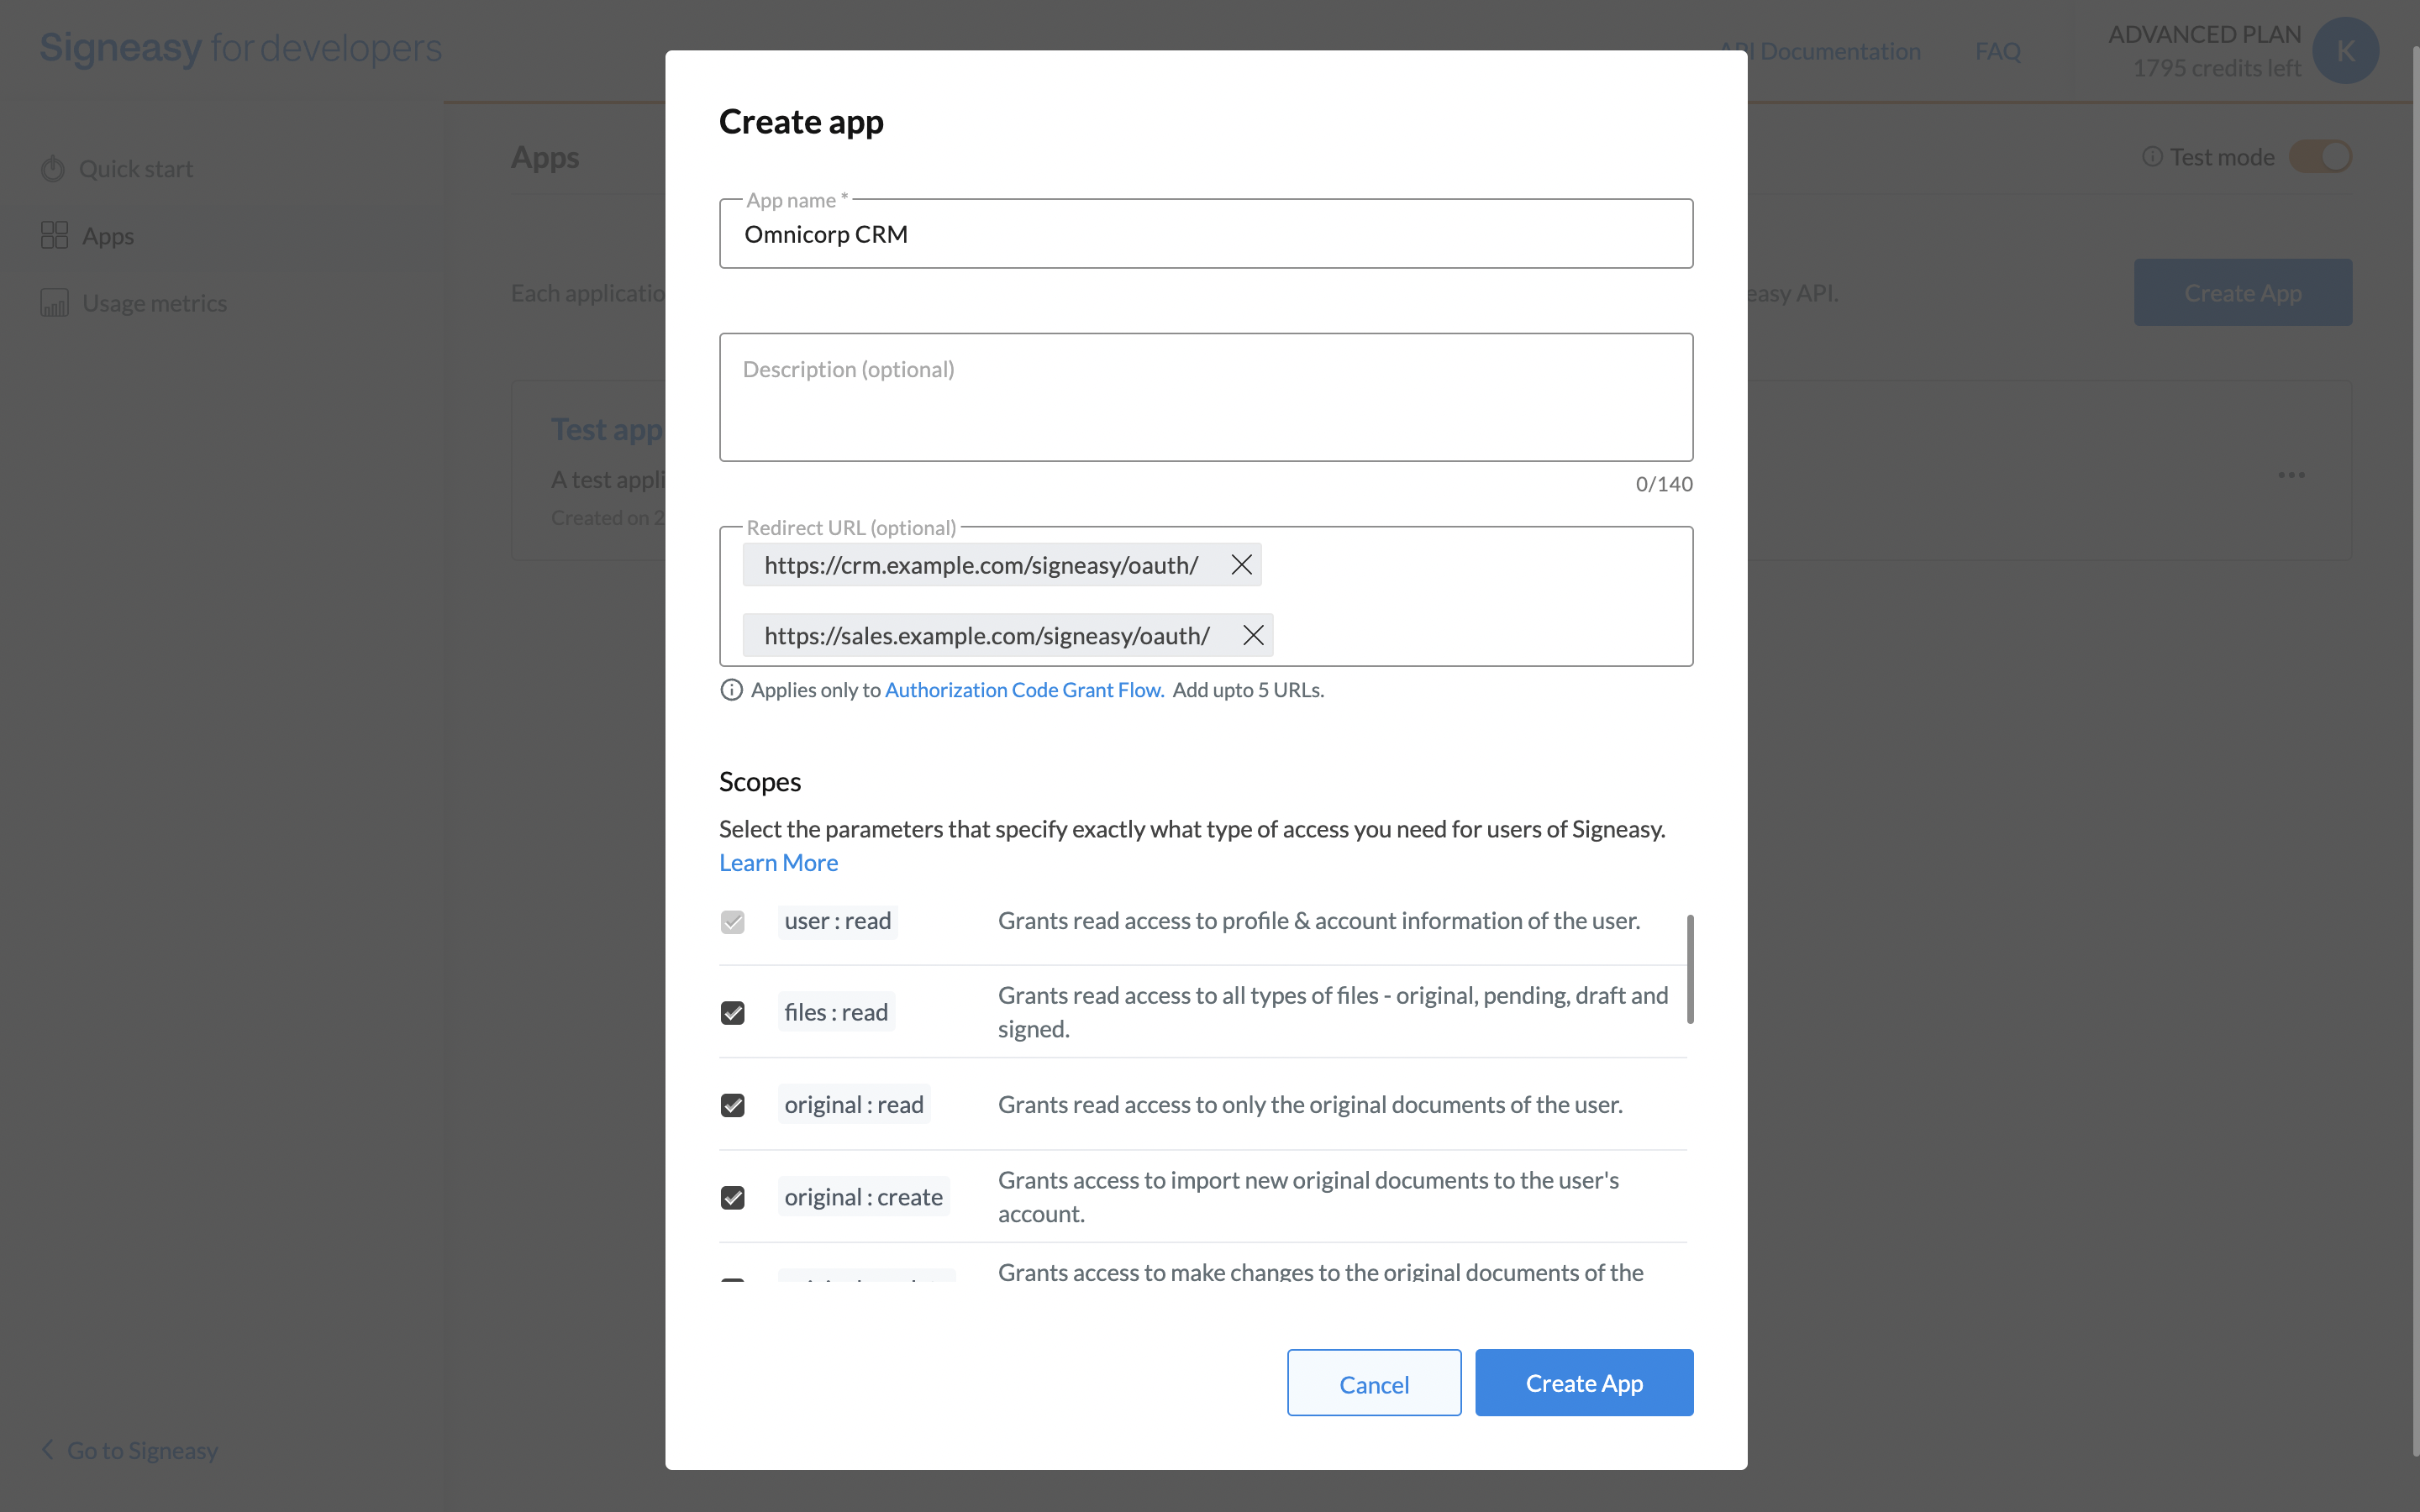
To initiate the authorization code grant flow, you'll need a redirect URL, where your users will be redirected once they authorize your application to be used on their behalf. These redirect URLs need to be added to your application so they'll be whitelisted and validated to be used in the authorization flow. You can create a new application in the developer portal and provide the redirect URL in the respective field.

You can add up to 5 redirect URLs.
Step 1 - Authorization consent screen
GET https://auth.signeasy.com/authorizeParameter | Type | Description |
|---|---|---|
|
|
|
|
|
|
|
|
|
|
|
|
|
|
|
|
|
|
Step 2 - Redirect and capture the authorization code
When your users visit the URL, they'd see a consent screen requesting them to authorize your app to access their Signeasy account on their behalf within the scope of the permissions requested. Once they click on authorize and authenticate with Signeasy, they'd be redirected to the redirect_uri provided in the above step with a temporary code parameter in the URL. Capture the value of it to use it in the next step.
Step 3 - Obtain access and refresh tokens
Exchange the code you captured from the previous step for an access_token and refresh_token pair, by making the following request with the specified parameters.
Request
POST https://auth.signeasy.com/oauth/tokenParameter | Type | Description |
|---|---|---|
|
|
|
|
|
|
|
|
|
|
|
|
| 'string` |
|
Response
{
	"access_token": "eyJhbGciOiJSUzI1NiIsInR…scvq",
	"refresh_token": "v1.MU7HbI3ZhvnKlROoRYz2…64",
	"scope": "rs:read rs:create rs:update original:read original:create original:update signed:read signed:create signed:update user:read files:read user:create template:manage app:launch rs:signingurl offline_access",
	"expires_in": 2592000,
	"token_type": "Bearer"
}
How to use the access token in an HTTP request?
This access_token allows you to make requests to the API on a behalf of a user. You should include this access token in the Authorization header.
Authorization: Bearer ACCESS-TOKEN
curl -X GET -H "Authorization: Bearer <Access Token>" https://api.signeasy.com/v3/meIt is recommended that you securely store the refresh_token of your user, so that when the access_token expires, you can exchange the refresh_token for a new access_token and refresh_token pair without needing the user to grant authorization to your application often.
Refresh TokensThe
refresh_tokenhave an expiry time of 30 days and can be consumed only once. When you use arefresh_tokento generate a newaccess_token, you will receive a newrefresh_tokenalong with it. The oldrefresh_tokenthen will be invalidated.
Refreshing the access token
The access_token you obtained always has a shorter lifetime. So eventually when it expires, you'll encounter the 401 Unauthorized response. You will need to obtain a new access_token using the refresh_token you obtained from the previous step. Make a POST request to the following endpoint with the specified parameters below to obtain a new access_token and refresh_token.
POST https://auth.signeasy.com/oauth/tokenParameter | Type | Description |
|---|---|---|
|
|
|
|
|
|
|
|
|
|
|
|
Note: Every time you refresh an access_token you will receive a new access_token and refresh_token pair.
Revoking the refresh token
Recommended practiceIt is a good practice to rotate your refresh tokens by refreshing the token pair frequently in your code.
For the refresh token generated via authorisation code flow, you can revoke the refresh token by initiating the following request. Also, note that any fresh pair of access and refresh token generated will invalidate the previous refresh token.
POST https://auth.signeasy.com/oauth/token
curl --request POST \
  --url 'https://auth.signeasy.com/oauth/revoke' \
  --header 'content-type: application/json' \
  --data '{ "client_id": "YOUR_CLIENT_ID", "client_secret": "YOUR_CLIENT_SECRET", "token": "YOUR_REFRESH_TOKEN" }'
Updated 9 months ago